
For custom fonts, you must install the font files in a way where they can be found by Texifier when it is attempting to typeset your document. Font files (.ttf files) may be placed in the same directory as your LaTeX source files or installed somewhere central for use by all your projects. See below for how to install the font files in your environment.
Example
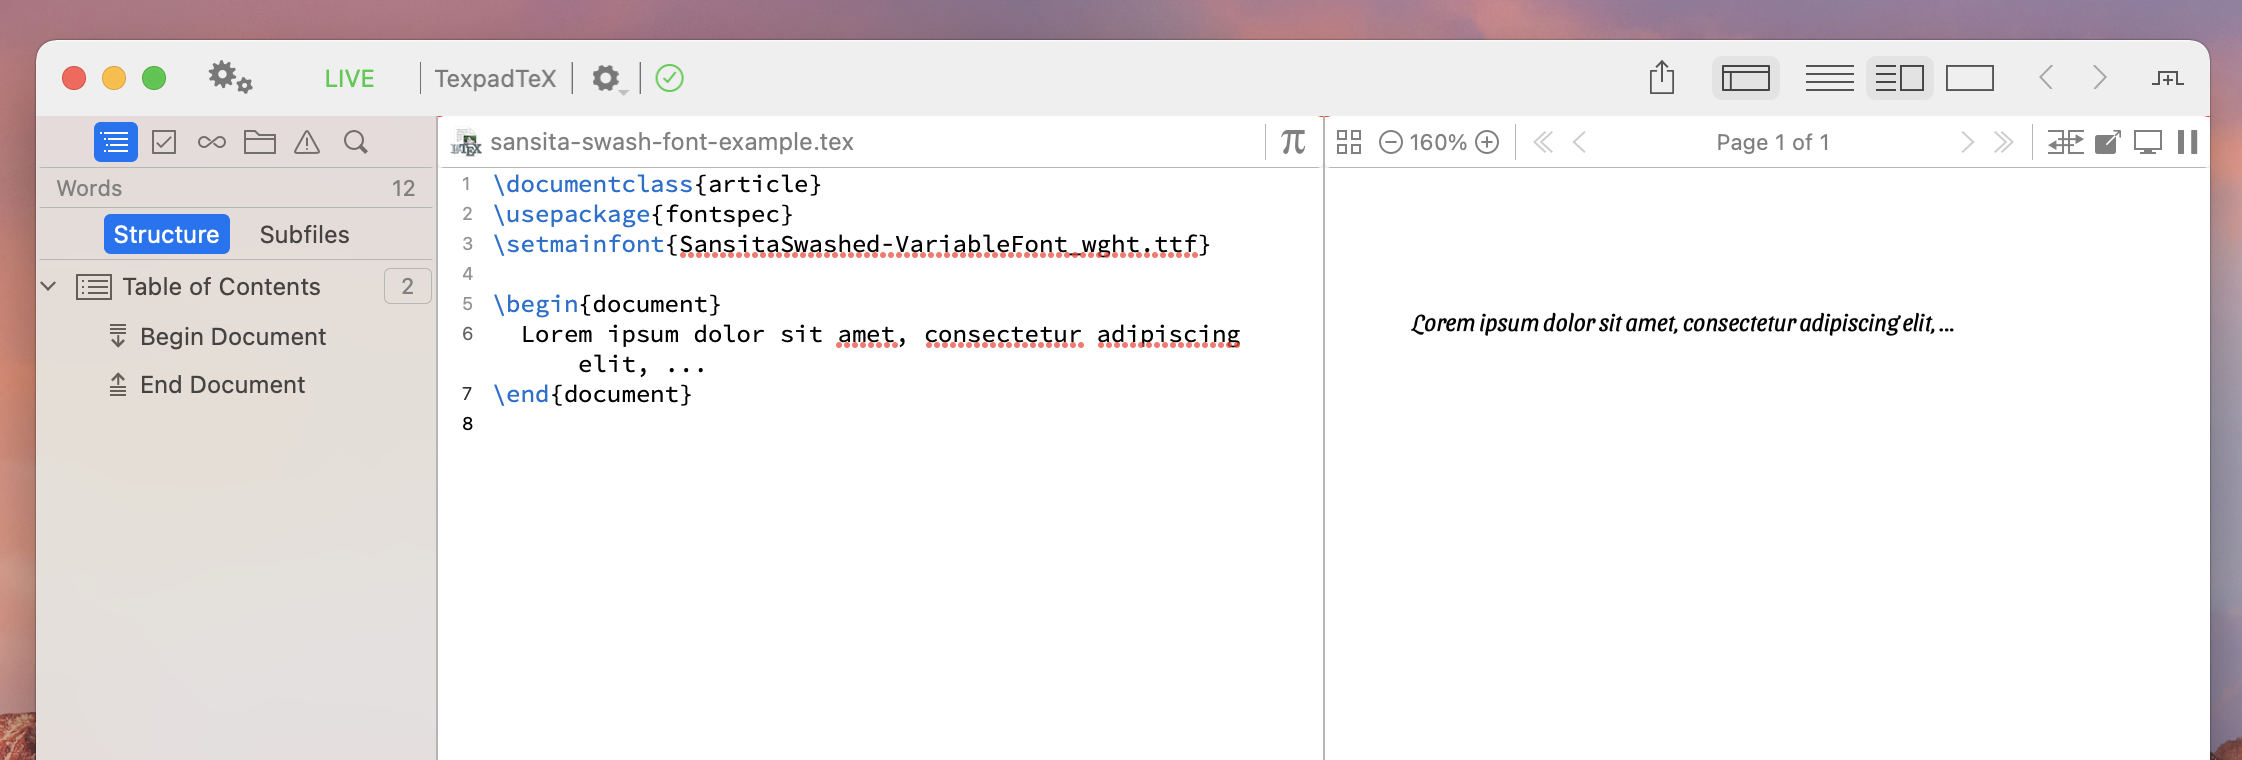
Once the font is installed, you can simply use the package fontspec to set this as the main font of the document. In the following example, we are using a font called Sansita Swashed available at Google Fonts.
\documentclass{article}
\usepackage{fontspec}
\setmainfont{SansitaSwashed-VariableFont_wght.ttf}

\begin{document}
Lorem ipsum dolor sit amet, consectetur adipiscing elit, ...
\end{document}
Here the font file SansitaSwashed-VariableFont_wght.ttf is part of the font file set downloaded from Google Fonts’s page for Sansita Swashed.
This simple example will produce the following output on Texifier macOS when using TexpadTeX.
Installing Fonts
For a Single Project
You can place the fonts in the same folder as your LaTeX source files. In the above example, file SansitaSwashed-VariableFont_wght.ttf will be placed next to the source file sansita-swash-font-example.tex in Finder.
Making Fonts Available to all Projects
If you would like to instal the file such that it is available to all your projects, you must place in a the Shared Files folder in the Typesetting section of the Preferences (use